You guys ~ This is so out there, but I started a YouTube Channel *grimace face emoji*!!!
I feel like working for a cooking show would be SO much fun, but since I don’t have that job, I figured I would play around with making some of my own videos for some of these baking recipes.
The first such installment WAS going to be this easy raspberry scone recipe from Martha Stewart HOWEVER I need to work a bit on my camera skills before I can actually put this out in the world.
Sorry you will miss the unfortunate camera angles, terrible lighting, the hilarity of me throwing things on the floor and splattering raspberry goo down the front of the cupboards (and my large chin pimple). Maybe next time.
Meanwhile, I was really pumped to make these warm and comforting scones for my friends. Downton Abbey has started again, so duh, we needed scones and tea to make our viewing party complete!
This isn’t from the Martha Stewart’s Baking Handbook, but rather a recipe of hers I found online a number of years ago and have been making ever since. Here’s my re-creation of the original recipe.
Ingredients:
6 tbps milk
1 & 1/4 tsp white vinegar
1 & 1/4 cup flour
2 tbp sugar (plus some for sprinkling at the end)
1 & 1/2 tsp baking powder
1/2 tsp salt
1/2 stick cold butter
1/2 an egg yolk (just divide it with your hands and eyeball it)
2/3 cup fresh raspberries washed and dried (or frozen raspberries which will make your scones pink)
To Make:
1. Preheat oven to 400 degrees
2. Mix milk and vinegar in a cup and wait 5 minutes until the milk is a bit curdled (this is going to sub for buttermilk)
3. Meanwhile mix the flour, 2 tbp sugar, baking powder and salt in the food processor
4. Add the cubes of cold butter and pulse until pebble-like crumbs have formed
5. With the mixer on low, add the milk-vinegar and egg yolk through the feed tube until the dough comes together
6. Turn the dough out on a floured surface and pat into a square
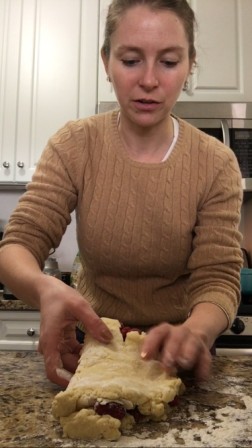
7. Add the raspberries on top of the dough and fold one side over to encompass the raspberries. Try not to totally smash the berries.
8. If you can manage, fold the dough a few more times without squishing the berries – turning the dough a quarter turn with each fold. You are creating the flaky layers by doing this. [Side note, if you DO smoosh the berries, the scones will still be super yummy, they may just be tinted slightly pink 🙂 Even better this way?]
9. Pat the dough out to about an inch thick and use a long sharp knife to cut the dough into equal size pieces
10. Place the pieces and inch or two apart on a parchment-lined baking sheet.
11. Sprinkle the extra sugar over top of the scones.
12. Cook for 15-20 minutes, rotating the sheets after 10 minutes. Check for browning at about the 15 minute mark. Mine took about 17 minutes.
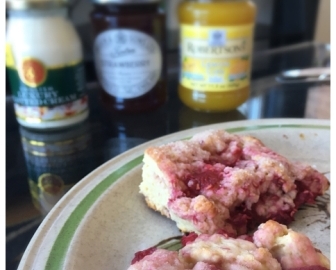
13. Eat warm with clotted cream, lemon curd, jam, Scottish Afternoon tea
14. Smile.
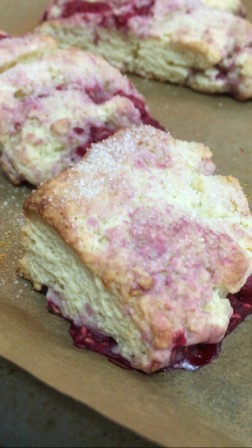

The finished product looks so good. Maybe we could make them together during our next laundry day! Have fun baking.
LikeLike
Sounds good! They are super simple and delicious 🙂
LikeLike
I love the photo of you doing this. You make it look so easy. And there’s not that much sugar so they are quite healthy as well. Did they go well with D.Abbey? Mama
LikeLike
Went great with D. Abbey!! Not totally unhealthy but a fair amount of butter 🙂
LikeLike
Yes, we need 20 scones. Interesting substitution for the buttermilk. Wonder if it’ll work in other recipes because I never have it on hand…
LikeLike
I will tell you it works less well as a sticky substitute for breading chicken. But also perhaps because I used skim instead of whole milk.
LikeLiked by 1 person
Provide link to YouTube channel plz
LikeLike
Hahahahaha we’ll see 😉
LikeLike